
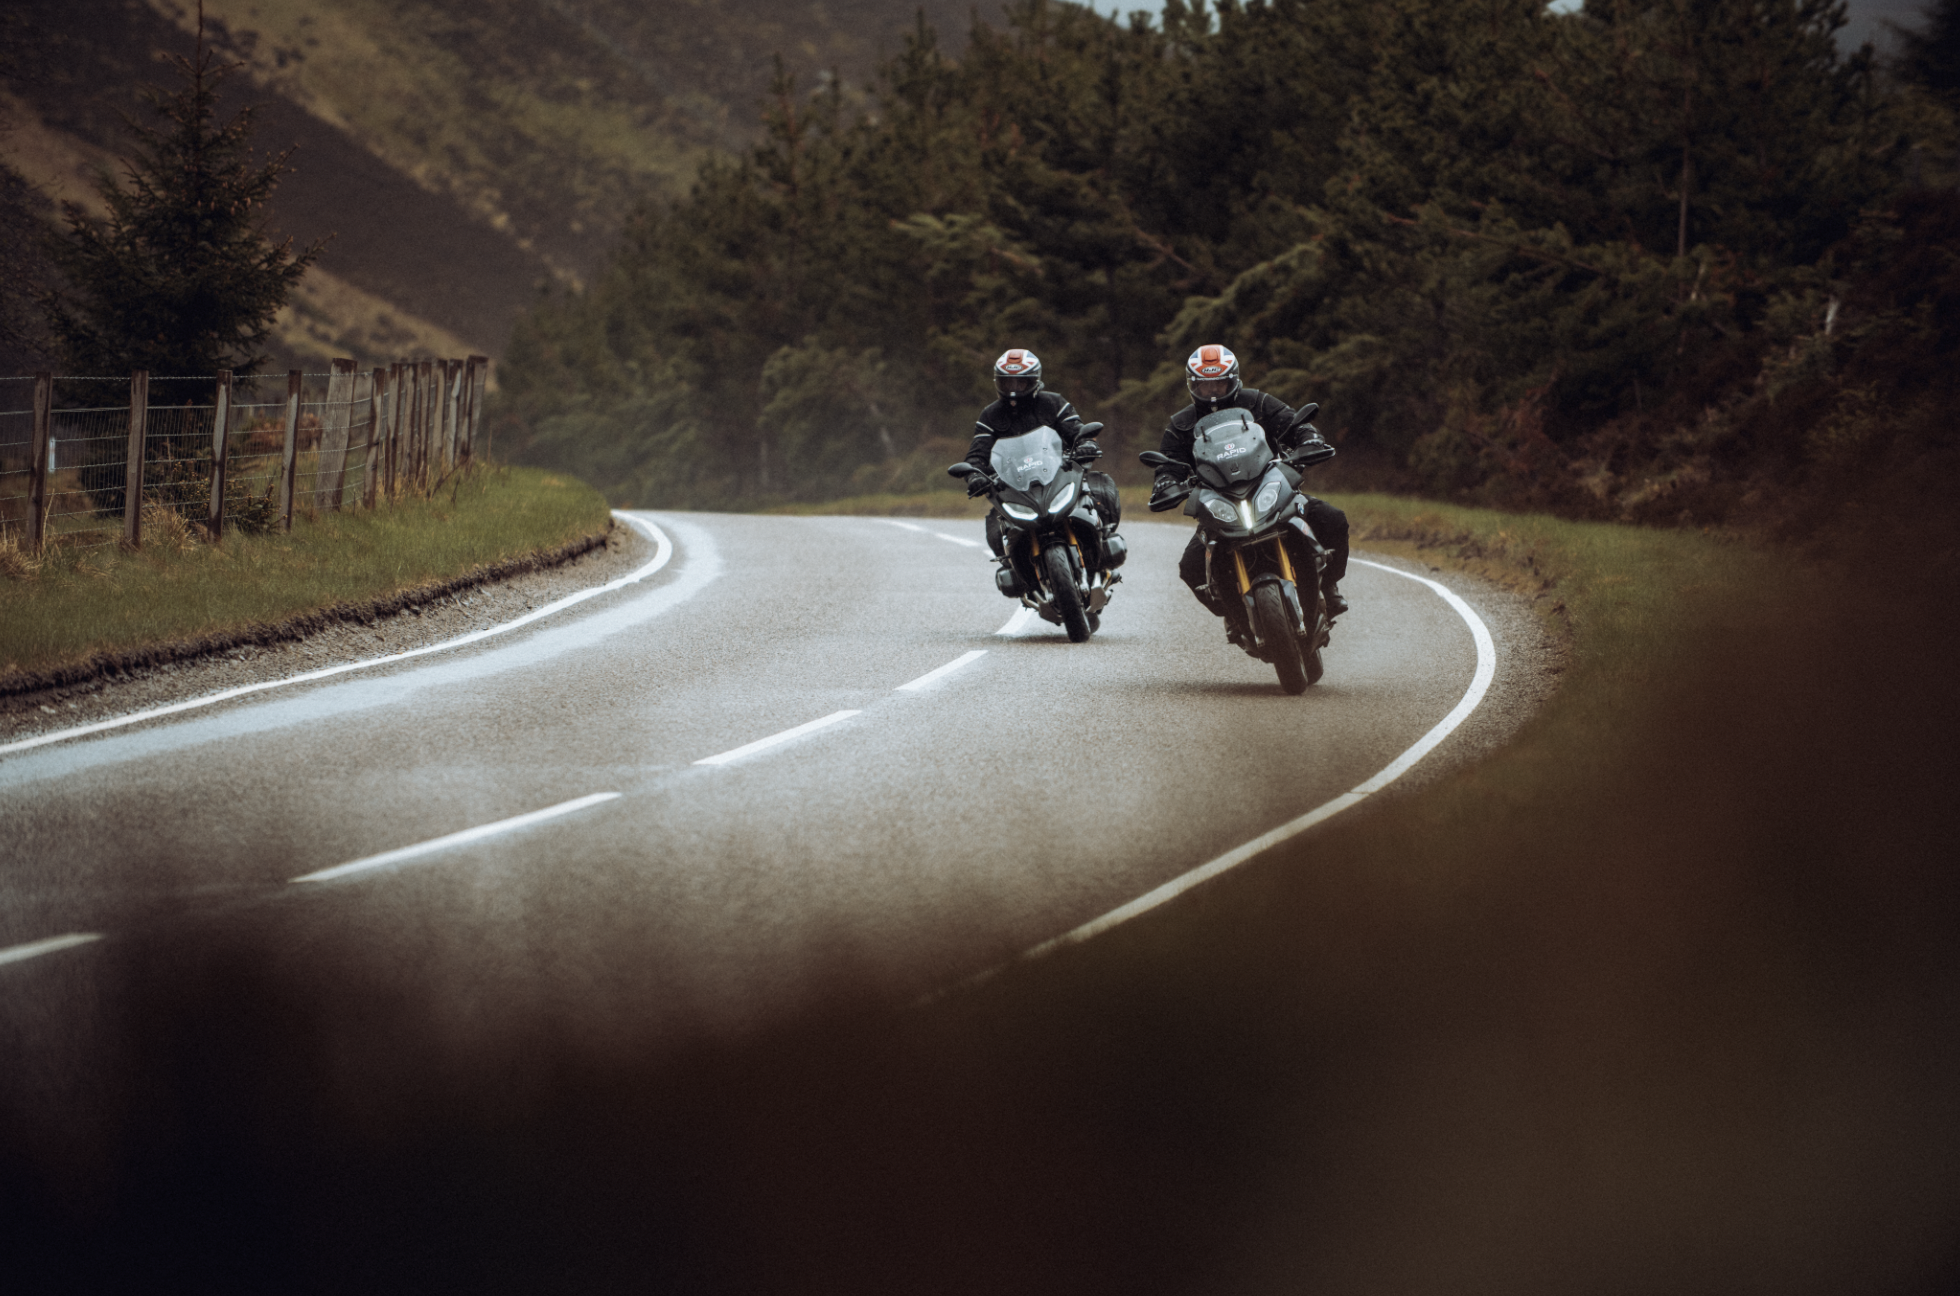
Reading the Road.
As always, reading the road is a defining skill for motorbike riders. Registering the bend as soon as it is visible to the naked eye is the crucial first step. This puts the bend on our ‘radar’, and as we get closer, we will start to pick up warning signs, chevrons, road markings, the presence of other hazards, and cross views. We will see which way the bend appears to be going, its severity, and if it is a single or double bend. Closer still and we will see the road surface and the road camber which may require last minute adjustments to our plan.
On initial turn-in, we will still be searching for road surface information, opposing traffic, and for tell-tales that the exit is opening up. Finally, we will identify where we want the bike to exit the bend based upon what is coming next. By spotting this early, we can get the bike pointed, begin standing it up and getting back to gas.
Bike Position
At the most basic level, positioning for bends is about extending our view. This involves moving to the left on the approach to a right hand bend, or moving to the right on the approach to a left hand bend. Right hand bend. On the approach we position towards the left hand side of the road to extend the view into the bend. We remain to the left all the way through the bend until our view opens up sufficiently to begin to move back towards the crown of the road (or remain to the left if another right hand bend follows).
Left Hand Bend.
On the approach, we position towards the right of our lane to extend the view into the bend. We remain to the right all the way through the bend until the bend opens up and we can plot the best exit position based on what lies ahead.
But, in the real world, there are many more variables to consider such as:
• Road surface, camber and condition, which may dictate a different line.
• Other traffic behind and ahead, especially oncoming traffic on left handers.
• The view across or through the bend, which could lend itself to an improved line.
• The speed of the rider, which may not necessitate an extended view.
• Other hazards, such as actual or potential for pedestrians on country roads.
• ‘Closing speed’. Even at a modest 50 mph, if an oncoming vehicle is also travelling at 50mph, the closing speed will be 100mph, leaving little if any time for either rider or driver to make corrections if they are on a collision course.

Speed
We need to consider that it is rarely the severity of the bend or the capability of the bike that limits the speed on the road, it is almost always the need to be able to stop on our own side of the road, in the distance we can see is clear.
Let’s assume we want to enter the bend at the fastest safe speed and use this as our benchmark.
This means that if we are halfway around a challenging bend, and the next few feet of riding reveals a flock of sheep in the middle of the road, we must be able stop safely. There is no one speed for any one bend that is the correct speed to achieve this! Stopping distance will depend on reaction time, which will depend on the rider’s ability to read the road. Braking distance will depend on the machine control skills of the individual rider, the road surface condition, the machine characteristics and lots of other factors. As individual riders, we must develop an ability to read the road ahead and accurately assess safe entry speed relative all of these variables. As we develop our observation, interpretation, planning and machine control skills, we will be capable of improving safe entry speed.

How do we assess entry speed?
There are many ways we can assess the severity of a bend and the appropriate entry speed. Cross views can often allow us to see the direction the road, sometimes, several bends ahead. The speed and position of other vehicles, entering or exiting the bend can also give valuable insight as does the presence of warning signs and chevrons (as a general rule, the more paintwork and furniture, the more severe the bend). Another tool which many riders find helpful in assessing the speed of entry is known as the Limit Point.
Using the Limit Point
The Limit Point is the furthest point a rider can see into a bend where the nearside kerb appears to meet the far kerb from the rider’s viewpoint. It gives important information about the severity of a bend. If we are approaching a bend and the Limit Point remains static as we are closing towards it, the bend is likely to be tight. The longer it stays static, the tighter the bend is likely to be. If the Limit Point is moving away from us as we approach from a distance, it is likely to be a fairly loose bend.
The technique to negotiate the bend using the Limit Point is as follows:
1. On the approach, for as long as the Limit Point remains static and we are moving towards it, we slow down.
2. Once the Limit Point begins to move away from us at the same speed we are approaching it, we are at the correct speed
3. Once we are in the bend and the Limit Point starts to move away from us faster than we are approaching it, the bend is opening, and we can begin to consider rolling on the throttle.
A word of warning about the Limit Point however, do not get fixated on it. It is only one tool and doing so will stop you searching for other information which you may need.
Gear
Gear selection should clearly relate to engine speed. Too high a gear will result in a wallowy ride through the bend with limited ability to control speed. Too low a gear will prevent positive exit drive. The right gear will offer good control and great exit drive.
Throttle
How we use throttle control through a bend, like every other area of riding, is dependent upon the circumstances. Entering a gentle fl owing bend at a leisurely pace will require a different technique to maximising performance through a bend.
Looking to improve your motorcycle riding skills? We have a range of track and road development programmes to maximise your performance. Take a look at our road courses and track courses.